


Last Updated: October 29, 2026
Quick Summary
To choose a kitchen sink splash guard, first measure the wet zone where faucet spray lands, the counter depth behind the faucet, and the clearance for handle movement. Then pick the type that matches your splash problem: a faucet mat for counter drips, a rear guard for the wall, or a sink-edge protector for the rim.
- Tape off the wet zone by running the faucet normally and marking where water lands.
- If the counter strip behind the faucet is under about 2 inches, choose a low-profile mat or sink-edge protector.
- Subtract about 1/4 inch from counter depth for guard depth, and add 2 inches per side to the wet zone width.
- Silicone or rubber mats work best, and a heavier or textured mat stays put better.
- Test fit with cardboard cut to size, checking handle and sprayer clearance before you order.
Table of Contents
- What a Kitchen Sink Splash Guard Does and Where It Goes
- Step 1: Measure Your Sink, Faucet and Countertop
- Step 2: Pick the Right Type: Faucet Mat, Rear Guard or Sink-Edge Protector
- Step 3: Choose a Silicone or Rubber Faucet Mat
- Step 4: Check Fit Around the Faucet Base and Behind It
- Step 5: Plan for Drainage and Standing Water
- Your Next Step: Measure Once and Order the Right Size
- Frequently Asked Questions
What a Kitchen Sink Splash Guard Does and Where It Goes
A kitchen sink splash guard is a flexible barrier that catches water from the faucet and keeps it off your countertop, backsplash and wall. Most splash guards sit behind the faucet base or along the sink edge, where spray tends to land. Learn seven solutions for a splashing kitchen faucet if the fit around the base is the problem. This guide walks you through how to pick the right one for your sink.
Many homeowners buy a splash guard after noticing a wet counter every time they rinse a dish. The fix is usually simple: match the guard to where the water actually hits. Here is how to do that in five steps.
Step 1: Measure Your Sink, Faucet and Countertop
Most buying mistakes happen here, not at checkout. A splash guard only works if it spans the wet zone, clears the faucet's moving parts, and still leaves you room to use the sink. Measure in this order and write each number down, the whole process takes about five minutes with a tape measure.
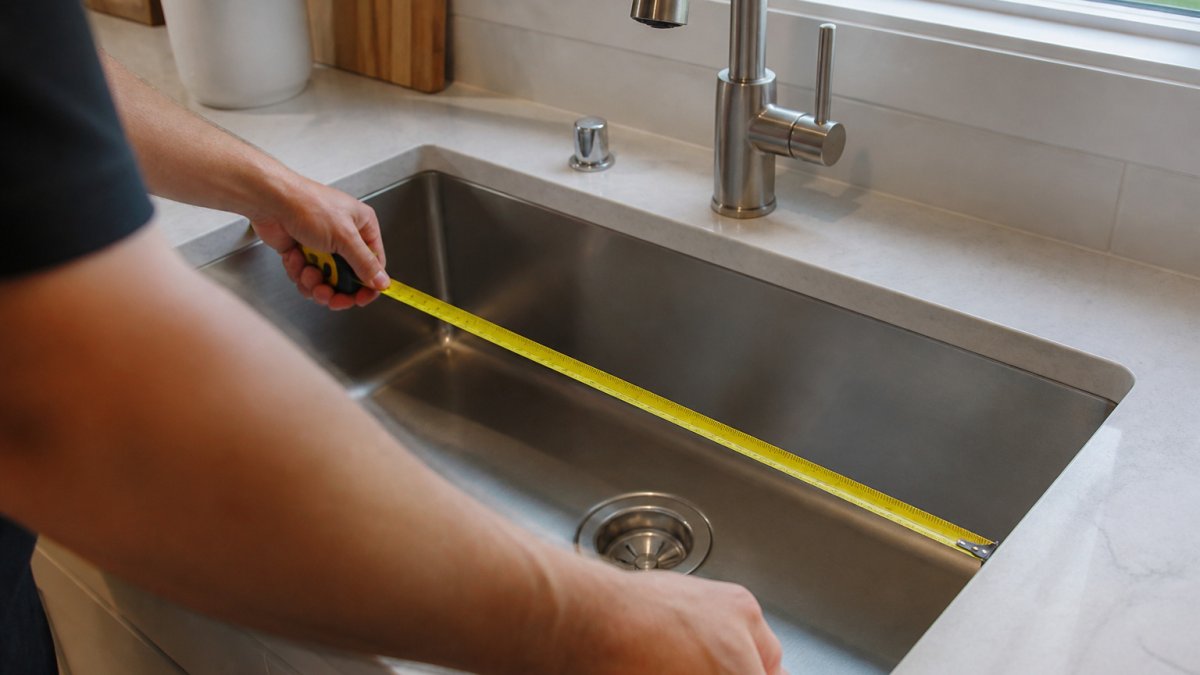
1. Map the wet zone first. Run the faucet the way you normally do, full spray, aerated stream, and the pull-down head if you have one, and watch where water actually lands. Mark the outer edge of that spray pattern on the counter with painter's tape. That taped boundary, not the sink rim, is the area your guard has to cover. A common pattern is a spray fan roughly 6 to 10 inches wide behind the faucet base, but your faucet height and pressure decide the real number.
2. Measure the counter strip behind the faucet. Measure from the back edge of the sink rim (or the back of the faucet base, whichever sits farther forward) to the wall or backsplash. This is your maximum guard depth. If that strip is under about 2 inches, a full rear splash guard will not sit flat, a low-profile faucet mat or a sink-edge protector is the better fit.
3. Measure faucet clearance, not just faucet height. With the faucet off, measure from the counter surface up to the lowest moving part, the handle arc, the sprayer dock, or the pull-down hose collar. Then measure the horizontal swing of the handle from closed to full hot. Your guard's thickness plus any raised lip has to fit under that arc without blocking travel. A guard that touches a handle will get pushed out of place every time someone uses the sink.
4. Measure the faucet base footprint. Measure the widest point of the base plate or escutcheon, side to side and front to back. The guard's cutout or notch needs to be at least this wide, or the mat will buckle around the base and leave a gap where water runs under.
5. Measure the sink opening and rim. Note the inside basin length and width and the outer rim dimensions. For a sink-edge protector, you need the rim width, typically 1 to 2 inches on drop-in sinks and narrower on undermount models, so the protector can straddle the edge without hanging into the basin.
6. Check the counter material and slope. Set a level on the counter behind the sink. Most counters are flat, but older tile and some stone installations slope slightly toward the wall, which is exactly where standing water wants to go. Note any seams, grout lines, or textured finishes, because a mat with a smooth underside will not seal against them.
7. Test the fit with cardboard. Cut a piece of cardboard to the dimensions of the product you are considering and set it in place. Open and close the faucet handle, swing the sprayer, and check that the cardboard clears everything and reaches the wall. This two-minute mock-up catches most fit problems before you order.
Step 2: Pick the Right Type: Faucet Mat, Rear Guard or Sink-Edge Protector
Each type solves a different splash problem. Here is a quick comparison:
| Type | Best For | Where It Sits |
|---|---|---|
| Faucet mat | Drips and spray around the base | On the counter, under the faucet |
| Rear splash guard | Water hitting the wall or backsplash | Behind the faucet, against the wall |
| Sink-edge protector | Water running off the sink rim | Along the front or side of the sink |
If your main issue is a wet counter, a faucet mat is usually the best starting point. If water hits the wall, choose a rear guard. Many kitchens need two types.
Step 3: Choose a Silicone or Rubber Faucet Mat
Material matters because it affects how well the mat grips, how easy it is to clean and how long it lasts. Silicone and rubber are the two common choices.
- Silicone: Flexible, heat-tolerant and easy to wipe clean. It tends to resist mildew well.
- Rubber: Often thicker and more grippy, which helps keep it in place on a slick counter.
A common mistake is buying a thin mat that slides around. Look for a mat with enough weight or texture to stay put when you bump it. Check that the mat has a clean, non-porous surface so grime does not build up in the grooves.
Step 4: Check Fit Around the Faucet Base and Behind It
Fit is where most splash guards succeed or fail. Before you order, confirm that the guard will sit flat and close to the faucet base without touching moving handles.
Watch for these fit problems:
- Gaps at the base: Water can run through even a small opening.
- Interference with handles or sprayers: Test the full range of motion in your mind, or measure the clearance.
- Uneven counter surface: A curved or textured counter may need a more flexible guard.
Most people find that a guard that folds or trims to size fits better than a rigid one. If a guard does not sit flat after installation, check whether the surface is clean and dry. Residue can keep the edge from sealing.
Step 5: Plan for Drainage and Standing Water
A splash guard that traps water is worse than no guard at all. Standing water wicks under the edges, softens caulk, stains stone, and feeds mildew within days. See how to stop kitchen faucet splashing with seven fixes if water pooling is causing the spray. The difference between a guard that sheds water and one that pools it comes down to four design features you can check before buying.
Slope and pitch. Water only leaves a mat if gravity gives it a path. Look for mats described as having a sloped or crowned surface that tilts toward the sink, or a raised back edge that pushes water forward. A perfectly flat mat with no pitch relies on you to tip it out after every use, fine for a quick rinse, not for a busy sink.
Channel geometry. Raised edges and molded channels direct water instead of letting it spread. Narrow channels drain faster than wide, shallow ones because water gathers depth sooner and flows. Check product photos for a continuous channel that runs to a low point, not decorative grooves that dead-end.
Drain openings. Some mats include a cutout or spout that overhangs the sink edge so water drips directly into the basin. That is the most reliable drainage path because it never depends on evaporation. If the mat has no opening, confirm that at least one edge sits flush with or slightly over the sink rim so water can run off rather than pool in the middle.
Drying behavior and underside ventilation. A solid silicone mat with a smooth underside traps a film of moisture against the counter. Mats with raised feet, a textured underside, or a slight standoff dry faster and are less likely to leave a ring. If you choose a solid mat, plan to lift and dry it, a weekly lift is the minimum, and daily in humid months.
Match the drainage design to your sink layout. A divided sink gives you two low points, so a mat that drains to one side may send water across the divider. Single-basin sinks drain more predictably because there is one target. On a farmhouse or apron-front sink, the front edge is often the lowest point, so a sink-edge protector with a drip lip works better than a rear mat.
A simple field test. Before committing, set the mat in place and pour a cup of water across the back edge. Watch where it goes. If it reaches the sink within a few seconds, the drainage works. If it spreads sideways or sits in a puddle, the mat will do the same thing every time you rinse a dish, and you will be wiping the counter anyway.
Your Next Step: Measure Once and Order the Right Size
Before you buy, write down your sink length, faucet distance and counter depth, then match those numbers to the product size. Pick the type that fits your main splash problem, choose a silicone or rubber mat that stays put, and confirm the fit around the faucet base. For current prices and sizing options, check the Jackie's Attic website.
Frequently Asked Questions
What should I look for in a kitchen sink splash guard?
Start with coverage: consider whether the guard extends past the faucet base and reaches the sink edge without blocking the handle or spout. Consider whether the design suits your countertop and whether the product is removable for cleaning. Check the product page on Jackie's Attic for current prices.
How do I measure for a kitchen sink splash guard?
Measure the distance from the faucet base to the sink edge, then add a few inches so the guard covers splashes that travel sideways. Measure the sink width and note whether you have a single or double bowl. Measure the depth of the countertop behind the sink if you want a rear guard. Keep the faucet's spout height in mind, because a guard that is too tall can interfere with the handle. Write the numbers down before you shop.
Are silicone faucet mats better than other splash guards?
Your choice depends on where the water actually lands in your kitchen.
How do I keep a faucet splash guard from sliding?
Clean both the countertop and the underside of the guard before placing it, since dust and grease reduce grip. Position the guard so it sits against the faucet base with no gaps. If your guard is a flat silicone mat, choose one with a slightly textured underside. Avoid stretching the mat to fit, because tension can pull it out of place over time. Check the position after the first few uses and adjust as needed.


